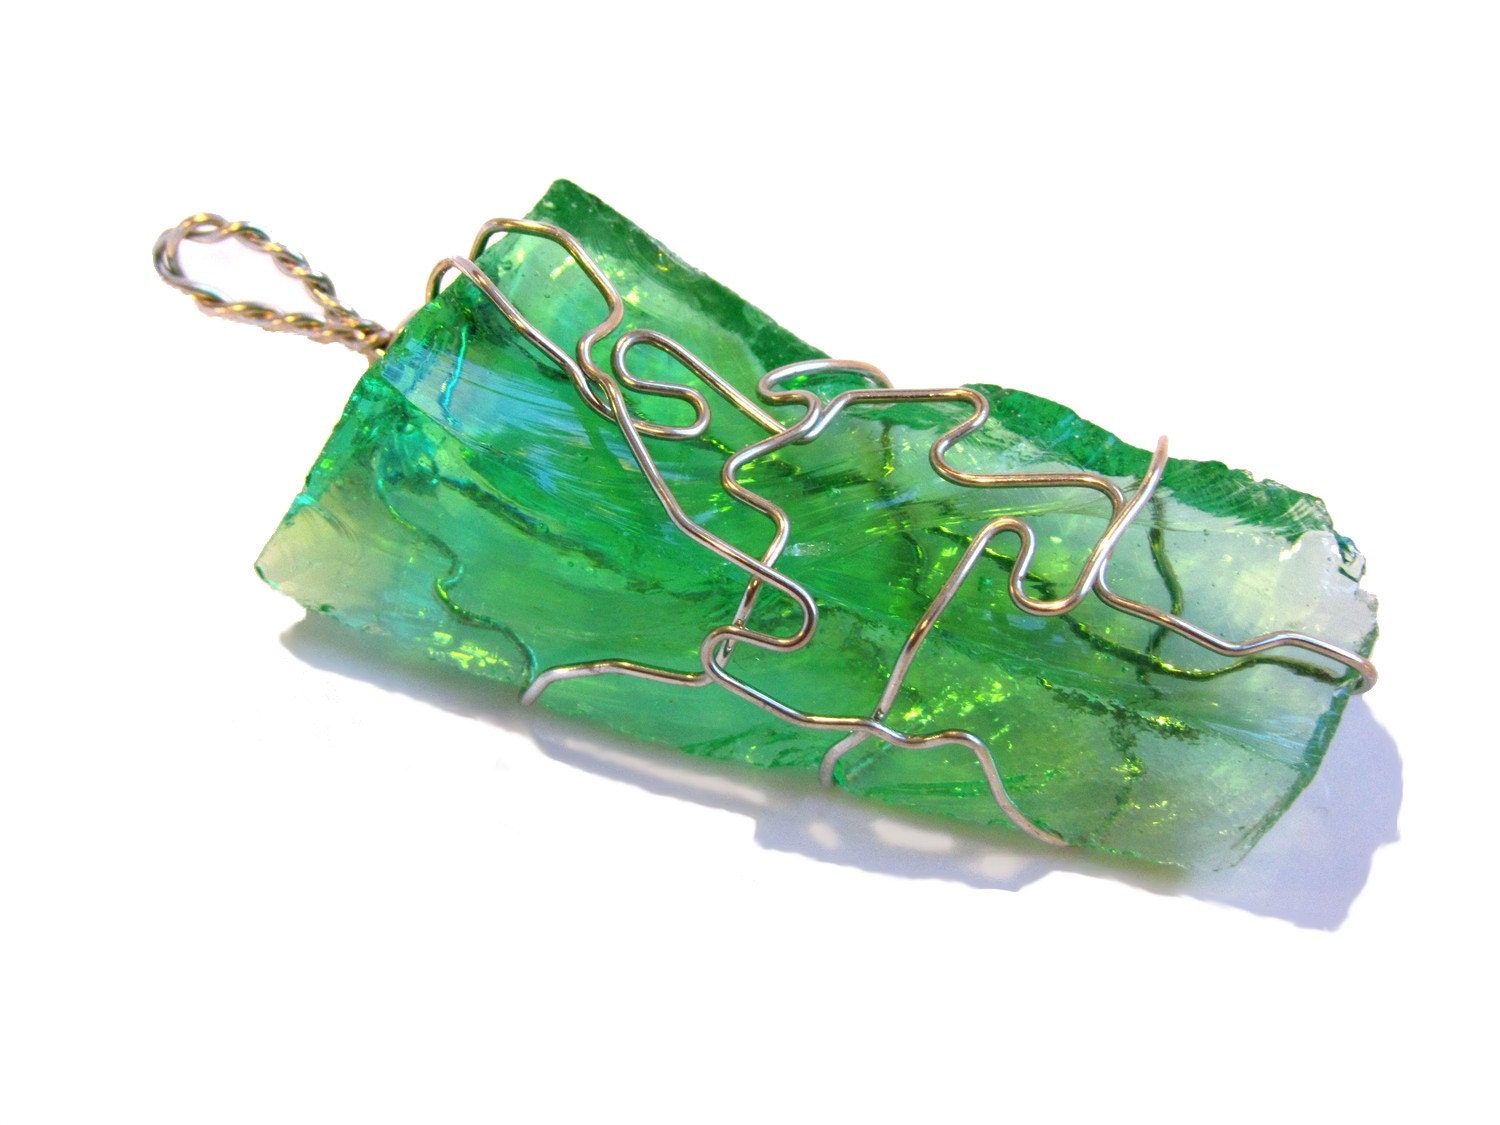
so living in pittsburgh makes it rather difficult to take photos of my pieces. the weather is frequently gray, cloudy, sometimes a bit rainy. there are definitely sunny days, but let's be honest... it isn't just a coincidence that we all have low vitamin d levels around here!
i had such a hard time with blah, flat photos of my items, with no pop or vibrancy. it is so important to have photos that let the customer feel like they are holding the item in their hand. photos that really show the fine details of the item. photos that actually reflect what the piece looks like in real life!!
so this is what i did about it!!
i had seen a few websites that had ideas about making light boxes and all that. with a 4 year old, i couldn't have a contraption like that sitting around. i then discovered a little how-to for using the sun and things around the house to create the perfect image.
first, i found a window that gets sun shining directly in.
i put a tv tray up against the window and made sure that the top of the tray was a bit higher than the window sill.
i put a piece of foil, shiny side up, down and then covered it with parchment paper. i then tacked it down so it wouldn't have too many wrinkles.
i then found a regular old copy paper box lid. i took a long sheet of aluminum foil and taped it to the outside, shiny side out. finally, i took some parchment paper and put it over the window. it helps to soften the light coming in from outside.
it was that simple!!
place your item with it's back to the parchment paper over the window.
using the box lid, find the sun and direct the light coming in from the window onto your item.it's good to have something to prop up the lid or hold it in place, or to have a tripod for the camera. you will need extra hands for this!
oh, and always mess around with the light settings on your camera, too. i have found that adjusting it to a +1 is good for my camera and the natural light i have.
this is the difference.....
what are your little tips and tricks for taking good photos??? i'm always looking for new ideas!


 tyler and i decided to make a terrarium. i got the terrarium box from my old boss, and she was excited to see how it would go... here it is! it was actually a lot of fun to hunt through the yard to find the bits of moss and plants and rocks and and sticks and such. tyler had a great time finding different varieties of moss. it was a wonderful way to teach him about how different things can be even when they look the same from far away. even i didn't realize how many different kinds of moss there are just in our own backyard! i think tyler had the most fun picking out the treasures that he wanted to put inside. we have seashells, shinybeads, and marbles.